Your First Step into AI Personalization: A Beginner's Guide to Customizing Open WebUI
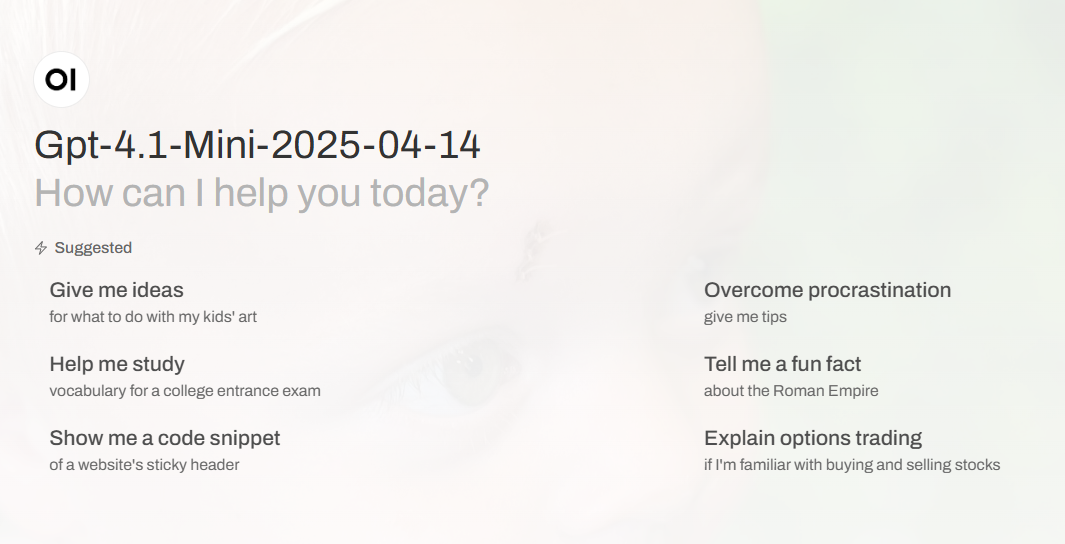
Have you ever wondered if you could give your AI tools a personal touch? Customizing the user interface (UI) to reflect your own brand or company is a fantastic way to make your workspace feel more like your own. If you've been looking at Open WebUI and thought, "I wish I could put my logo on that," you're in the right place!
While the official Open WebUI platform is a fantastic open-source project that deserves our support (and a proper enterprise license for commercial use), you can learn a lot about how these systems are structured by exploring a few simple modifications for educational purposes. This guide will walk you through the steps to add your own company name and logo to your Open WebUI instance.
This journey starts with a simple file edit. The first thing you'll need to do is navigate to the backend of your Open WebUI installation. According to the video guide by AI ko Poko, you'll find a specific .py file that holds the key to this customization. Once you open it, you'll need to find a particular section of code and "comment it out" or disable it. Don't worry, this isn't as complicated as it sounds; it usually involves adding a simple character like a # at the beginning of a line. In this same file, you'll then be able to define your own custom UI name, such as your company or brand name.
After making this crucial change, the next step is to rebuild your Docker container. This is where your code edits get turned into a functional part of the application. By running the docker compose up --build -d command, you're telling Docker to create a new container that includes the changes you just made to the .py file. If you're a first-timer, you might run into a common issue with a package.json file. Don't fret! The solution is as simple as copying some code from the public repository and trying the build command again.
Once your containers are up and running with the new company name, it's time for the fun part: adding your logo. You should have your custom logo files ready to go. The video specifically mentions a splash.pnz file for the main logo and two favicon files. The favicon files are the small icons you see in your browser tab and are essential for a professional look. The key is to name your files exactly as specified so they can be easily replaced.
Now that you have the logo files ready, you need to copy them into your running Open WebUI container. This requires a command that tells Docker to take your local files and place them in the correct directory within the container. The video provides a specific command to execute this, and once you run it, your custom logo files will be successfully transferred.
And that's it! In just a few simple steps, you've learned how to modify the Open WebUI to display your own brand. This process is a fantastic way to understand the backend of open-source projects and see how small changes can have a big impact on the user experience. Remember, this is about learning and exploring. For any commercial use, please refer to the official Open WebUI Enterprise license plans and support the open-source community that created this amazing tool.